Toggle navigation
Wenyun Hua's Art School
About
Art Supplies
Testimonials
Login
Sign Up
Category:
All
All
Fine Art, Watercolour, Drawing and Painting (1)
Visual art (1)
Art Edutation (1)
Author:
All
All
Wenyun Hua
Find a product
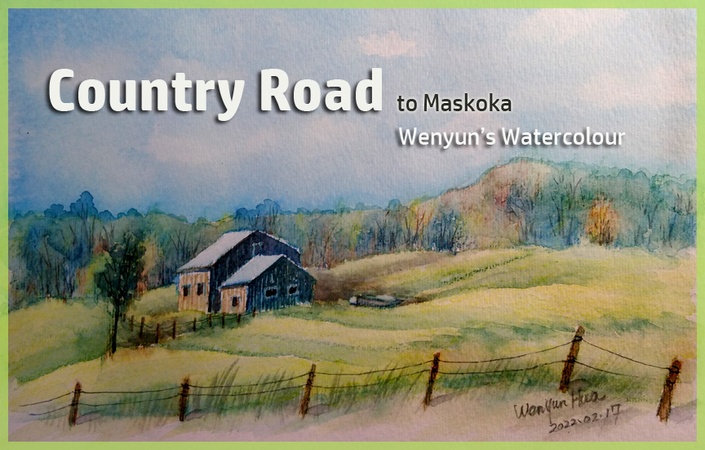
Watercolour - Country Road to Maskoka
Available until
Painting Landscape With Watercolour Pencils
Wenyun Hua
%
COMPLETE
$39